Flutter released its stable version on just 12/4/2018. It had acquired a huge community within this short span.You can even create ML apps with Flutter.
Flutter is Awesome 💙
Firebase ML Kit: ML Kit is a mobile SDK that brings Google’s machine learning expertise to Android and iOS apps in a powerful yet easy-to-use package. Whether you’re new or experienced in machine learning, you can implement the functionality you need in just a few lines of code.
Note: This post is targeted to those who possess a basic knowledge of Flutter and ML and wish understand the process of setting up tools within a Flutter project. If you are beginner first learn some Flutter basics.
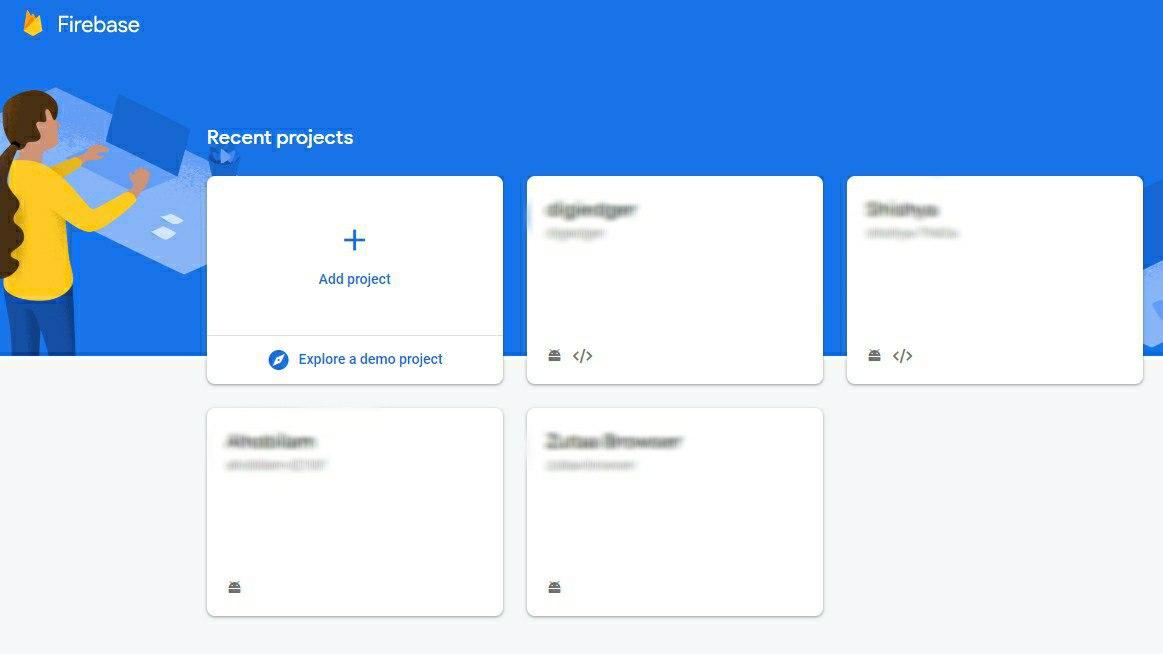
Get Start with Firebase Console:
- Login to Firebase console
- Add new project

- Enter project detail, enable analysis(optional).
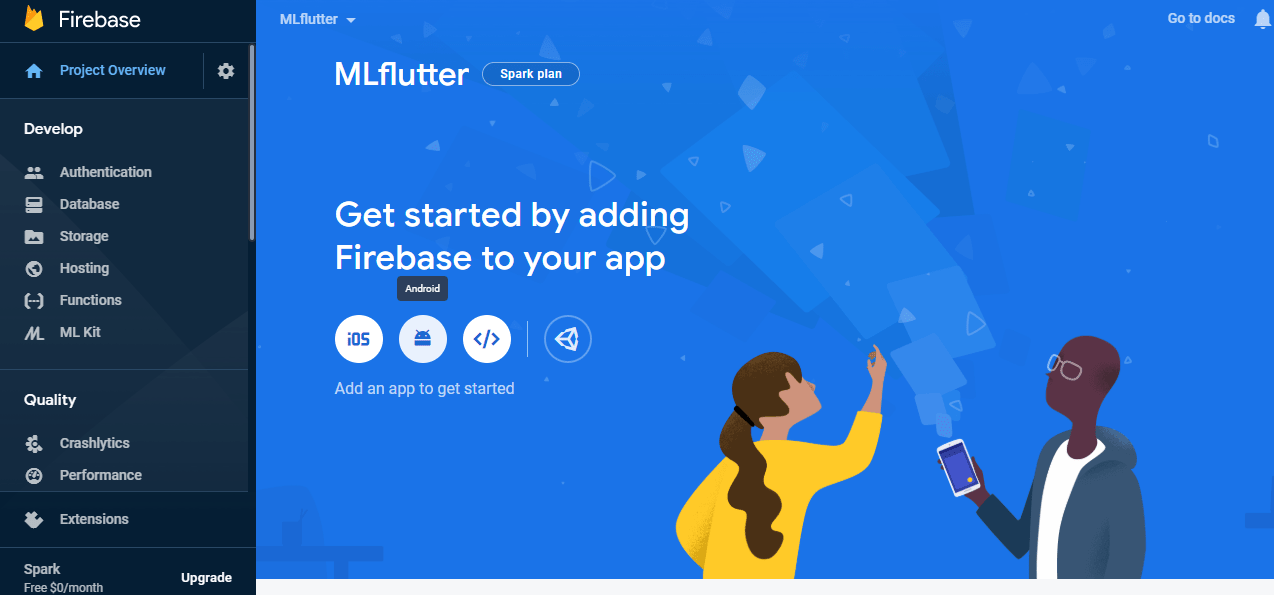
- Add an app from a dashboard (Click android logo)

5. Register the app: For android package name, go to your android folder /app/build.gradle file and copy the application id and paste it here.
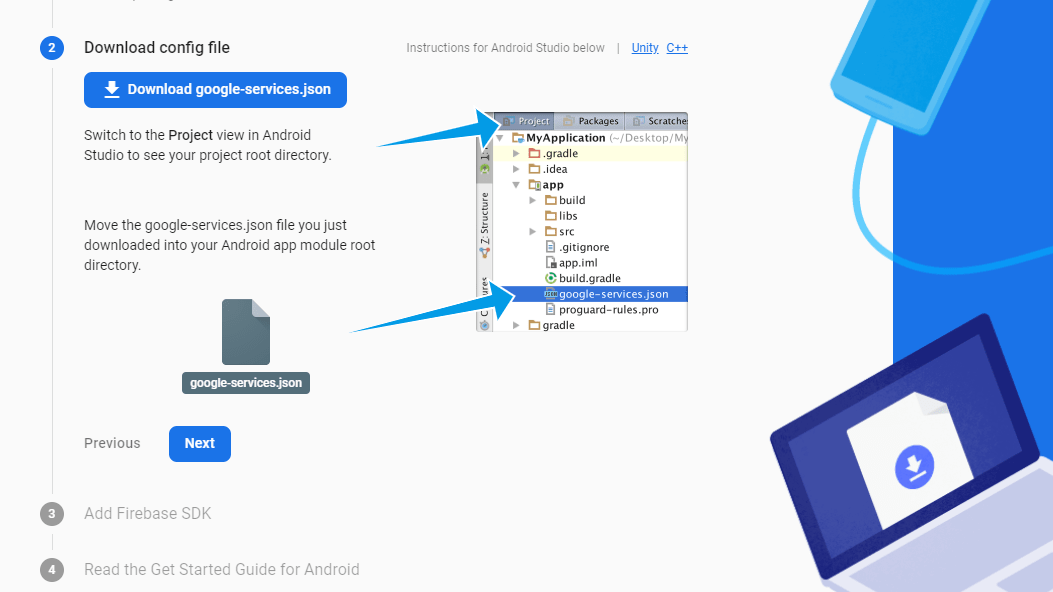
- Download the google.json file and place it in the app folder.

- Add following code in /build.gradle
buildscript {
  repositories {
    // Check that you have the following line (if not, add it):
    google()  // Google's Maven repository
  }
  dependencies {
    ...
    // Add this line
    classpath 'com.google.gms:google-services:4.3.3'
  }
}

allprojects {
  ...
  repositories {
    // Check that you have the following line (if not, add it):
    google()  // Google's Maven repository
    ...
  }
}- Add following code in /app/build.gradle
apply plugin: 'com.android.application'
// Add this line
apply plugin: 'com.google.gms.google-services'

dependencies {
  // add the Firebase SDK for Google Analytics
  implementation 'com.google.firebase:firebase-analytics:17.2.2'
  // add SDKs for any other desired Firebase products
  // https://firebase.google.com/docs/android/setup#available-libraries
}- If you want, verify your app(optional).
Code your Flutter App
- Create a flutter app
- Include a firebase ml kit package in pubspec.yaml file
dependencies:firebase_ml_vision: ^0.9.3+8- For image labeler, add following code in /app/build.gradle
android {
    dependencies {
        // ...

        api 'com.google.firebase:firebase-ml-vision-image-label-model:17.0.2'
    }
}- For on app face detection, add following code in /app/build.gradle
android {
    dependencies {
        // ...

        api 'com.google.firebase:firebase-ml-vision-face-model:17.0.2'
    }
}- Recommended option step, add following code in /app/src/main/AndroidManifest.xml
<application ...>
  ...
  <meta-data
    android:name="com.google.firebase.ml.vision.DEPENDENCIES"
    android:value="ocr" />
  <!-- To use multiple models: android:value="ocr,label,barcode,face" -->
</application>
Using an ML Vision Detector
1. Create a FirebaseVisionImage.
Create a firebase vision image object from your image. To create a firebase vision image from an image File object:
2. Create an instance of a detector.
You can also configure all detectors, except Text recognizer, with desired options.
3. Call detectInImage() or processImage() with visionImage.
4. Extract data.
a. Extract barcodes.
b. Extract faces.
c. Extract labels.
d. Extract text.
5. Release resources with close().
Tada!🎉 You had created your first Flutter ML app. You can start building this app with implement with your own ideas.